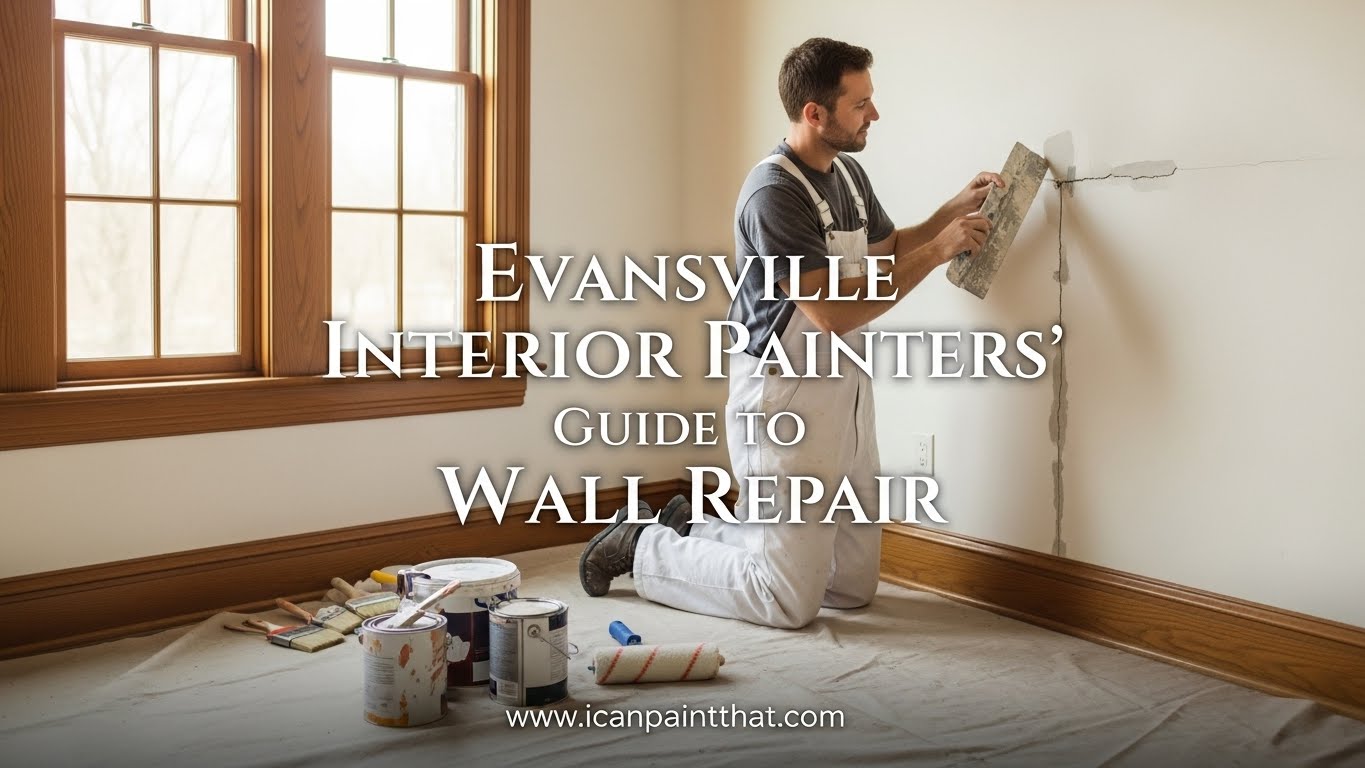
When it comes to home improvement, wall repair is a vital skill that every homeowner should master. Maintaining the walls not only enhances the aesthetics of your living space, but it also ensures that the interior remains structurally sound. This guide by Evansville Interior Painters will walk you through the essential steps in wall repair, providing you with knowledge that is beneficial whether you’re planning to do it yourself or preparing to hire a professional painting company.
Understanding Common Wall Issues
Before diving into the repair process, it’s important to identify common wall issues that many homeowners face. Some of these problems include:
- Cracks: These can occur due to settling or humidity changes.
- Holes: Often caused by nails, screws, or accidents.
- Mold and Mildew: Typically arise from moisture issues.
- Peeling Paint: A sign of moisture trapped beneath the surface.
Recognizing these issues is the first step toward an effective repair. Now that you understand the common problems, let’s explore the necessary repair techniques.
Tools and Materials Needed for Wall Repair
Before starting the repair, gather the necessary tools and materials. Having everything you need on hand will streamline the process. Here’s a comprehensive list:
| Tools | Materials |
|---|---|
| Putty knife | Spackling compound |
| Sanding block or sponge | Drywall tape |
| Paintbrush or roller | Primer |
| Dust mask | Matching paint |
| Drop cloth | Repair patches (for larger holes) |
Equipped with the right tools and materials, you are now ready to tackle wall repair like a pro.
Step-by-Step Guide to Wall Repair
The wall repair process involves several steps. Regardless of the type of damage, the repair method will often be similar. Let’s break it down:
Step 1: Assess the Damage
Before applying any materials, take a close look at the area needing repair. Small cracks may only need a bit of spackle, while larger holes could require patching with new drywall. Understanding the extent of the damage is crucial for selecting the right repair strategy.
Step 2: Clean the Surface
Once the damage is assessed, the next step is to clean the area around it. Remove any dust and debris to ensure that the spackling compound adheres properly. You can use soap and water for simple dirt, or an alcohol wipe for tougher residues.
Step 3: Repair Small Cracks and Holes
For small cracks, apply a thin layer of spackling compound using a putty knife. Ensure that you smooth it out so that it seamlessly blends with the surrounding wall. For holes, you may want to use a drywall patch. Place the patch over the hole, apply a layer of drywall tape, and follow up with the spackling compound.
Step 4: Sand the Area
Once the spackling compound has dried, it’s time to sand down the area. Use a sanding block or sponge to create a smooth surface. Be cautious not to over-sand, which can lead to uneven walls.
Step 5: Prime the Repaired Area
Before painting, it is advisable to apply a primer to the repaired areas. Primer will enhance paint adhesion and cover any imperfections in the spackling compound. Choose a primer that suits the type of paint you plan to use.
Step 6: Paint the Wall
Finally, it’s time to paint the wall. Use a brush or roller to apply the paint, making sure to blend it well with the surrounding areas. Depending on the type of paint you select, you may need to apply a second coat for full coverage.
Hiring Professional Help
While wall repair can be a DIY project, there are scenarios where hiring professionals may be the best choice. If you find the damage is extensive or if you’re unsure about your skills, it may be wiser to reach out to expert painting contractors. They have the experience and tools to ensure that the repair is completed efficiently and effectively.
For those in Evansville, finding the best painters nearby can make a significant difference. Professionals ensure that your walls not only look great but also last longer, saving you time and money in the long run.
Post-Repair Maintenance Tips
Once the repair and painting process is complete, maintaining the walls is essential. Here are a few tips for ensuring your walls stay in optimal condition:
- Regular Inspection: Check for new cracks or signs of moisture regularly.
- Clean Periodically: Dust and clean the walls to maintain appearance.
- Prompt Repair: Address any new damage as soon as it occurs.
By following these tips, you’ll help to prevent minor issues from escalating into major problems.
Conclusion
In summary, wall repair is an essential skill that can significantly enhance the aesthetics and durability of your home. By understanding the common issues, gathering the right tools, and following our step-by-step guide, you can effectively repair your walls. Yet, if you feel overwhelmed or face extensive damage, don’t hesitate to contact professionals. They provide invaluable expertise that can make a noticeable difference in the quality of your home improvement. For all your painting needs, consider reaching out to your trusted painting company. Happy repairing!