Achieving a flawless paint finish requires more than just the right color; it necessitates proper preparation of the walls. Neglecting this crucial step can lead to unsightly imperfections, peeling, and uneven application. In this blog post, we will guide you through the essential steps involved in prepping your walls to ensure that your painting project results in a smooth, professional-looking finish.
Assessing the Walls
Before you even think about picking up a brush or roller, it’s important to thoroughly assess the condition of your walls. Take a close look at any blemishes, cracks, or stains that need addressing. Begin by washing the walls with a mild detergent and water solution to remove dust and grease. This simple step can significantly enhance paint adhesion and give you a clearer picture of what repairs might be necessary.
- Check for dirt, grease, and cracks.
- Make note of any stains or previous paint layers.
- Ensure the walls are dry before proceeding.
Repairing Imperfections
Once you’ve assessed your walls, the next step is repairing any imperfections. It may be helpful to use a patching compound or spackle for small holes and dents. For larger cracks, consider using a more robust filler or even a joint compound. After application, it’s crucial to sand the area smooth once the filler has dried. This process not only enhances the overall appearance but also improves paint adhesion.
| Type of Repair | Recommended Material |
|---|---|
| Small Holes | Patching Compound |
| Large Cracks | Joint Compound |
| Rough Surfaces | Sandpaper |
Sanding the Walls
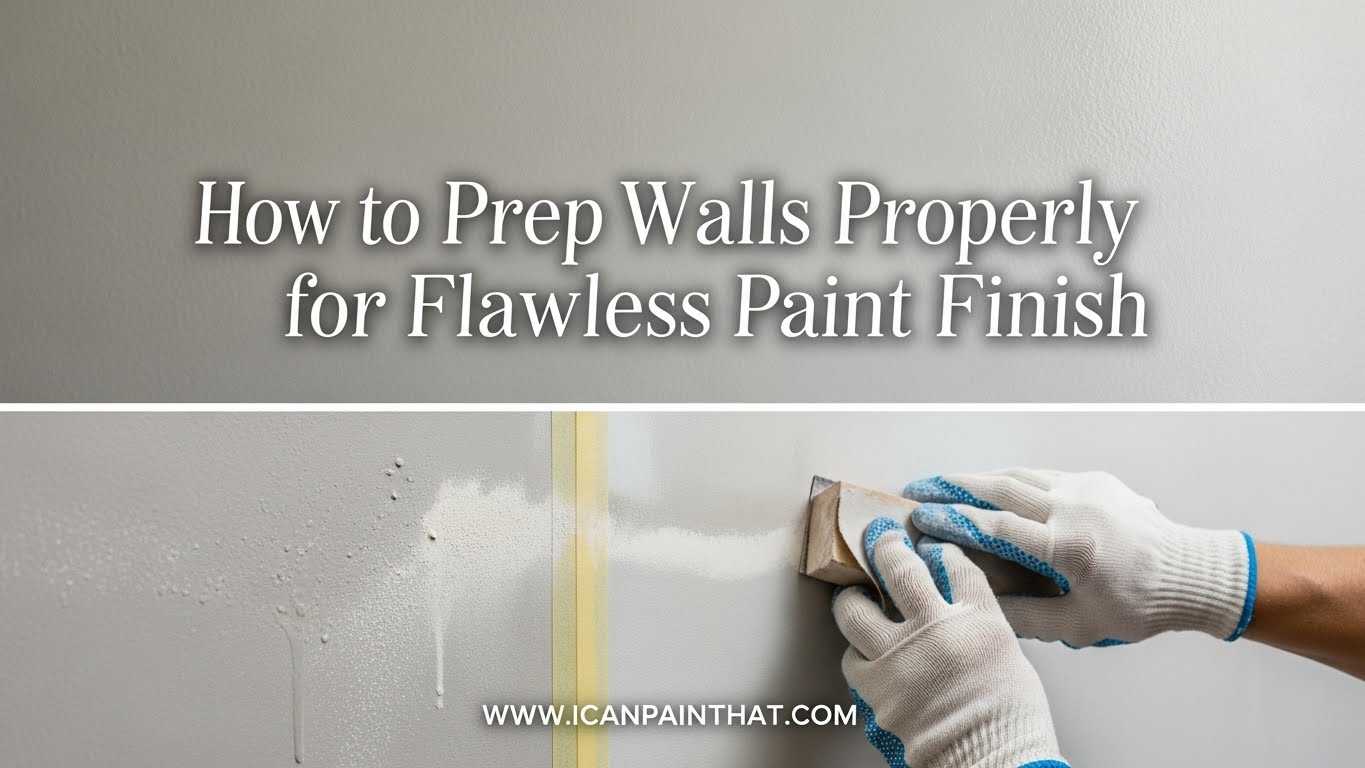
Sanding the walls may seem like an optional step, but it’s essential for a flawless finish. By lightly sanding the surface, you create a rough texture that allows paint to grip better. Be sure to use fine-grit sandpaper and focus on any areas that have been repaired. After sanding, you can use a vacuum or a damp cloth to remove all the dust particles, which can impede the sticking of your paint.
- Use fine-grit sandpaper (220 grit recommended).
- Smooth out all repaired areas.
- Vacuum or wipe down the surface to eliminate dust.
Cleaning the Walls
A thorough cleaning of the walls is an often-overlooked aspect of wall prep. It’s critical to remove any lingering dirt, oil, or grease that could affect the paint’s adherence. Use a mixture of warm water and mild detergent to scrub the walls lightly. Be sure to rinse them with clean water afterward to remove soapy residues.
Consider using a commercial cleaner for particularly stubborn stains or greasy spots. Once done, allow the walls to dry completely before proceeding to the next stage. A clean and dry surface is paramount to ensuring smooth, even coverage when painting.
Taping and Protecting
Next, it’s time to protect areas that you don’t want to paint. Using painter’s tape, carefully tape off edges around windows, doors, baseboards, and any other fixtures. This step is vital for achieving clean lines and preventing accidental paint splatters. Ensure that the tape is applied neatly, without any wrinkles or gaps, to guarantee optimal results.
- Choose a high-quality painter’s tape.
- Press the tape firmly to minimize paint seepage.
- Remove the tape when the paint has dried, not before.
Priming the Walls
Priming is a crucial step that many homeowners skip, thinking it’s an unnecessary expense. However, applying a primer can significantly improve the overall outcome of the paint job. Primers help seal the surface, hide stains, and provide better adhesion for the paint. They are especially important when transitioning from a dark to a light color or when painting new drywall.
Select a primer that suits your wall type and desired finish. Apply the primer using a roller for larger areas and a brush for edges and corners. Allow it to dry completely before proceeding with the painting process. A little extra time spent on priming can lead to a more vibrant and long-lasting finish.
Choosing the Right Paint
After prepping your walls and applying primer, the next consideration is the paint itself. Opt for high-quality paint that is suited for your specific wall type and environmental conditions. A good paint will contain better pigments and have a higher durability rate, ensuring your finished walls not only look great but last longer.
- Choose latex paint for most indoor projects.
- Consider oil-based paints for trim and moldings.
- Look for paints with low volatile organic compounds (VOCs) for better indoor air quality.
Final Checklist
Before you begin painting, go through a final checklist to ensure everything is ready to go. Making sure you haven’t overlooked any detail can save you time and effort down the road. Here’s a quick checklist:
- Walls assessed and cleaned?
- Imperfections repaired and sanded?
- Walls primed and dry?
- Tape applied carefully?
- Paint chosen set for the job?
Following these steps will set the stage for a smooth, flawless paint finish. Preparing your walls properly is key to ensuring that your project looks professional and lasts for years. If you are feeling overwhelmed with the prep work or the painting process itself, don’t hesitate to reach out to the best painters in your area. A reliable painting company can make the entire experience easier, ensuring a stunning final result.
Conclusion
In summary, prepping walls might seem like a tedious job, but it is indeed the most critical part of achieving a flawless paint finish. With the right tools, materials, and a systematic approach, you can transform your walls into a canvas that looks professionally done. Remember, taking the time to prep correctly will yield results you can be proud of. So, gather your supplies, roll up your sleeves, and get started on turning your space into something beautiful!